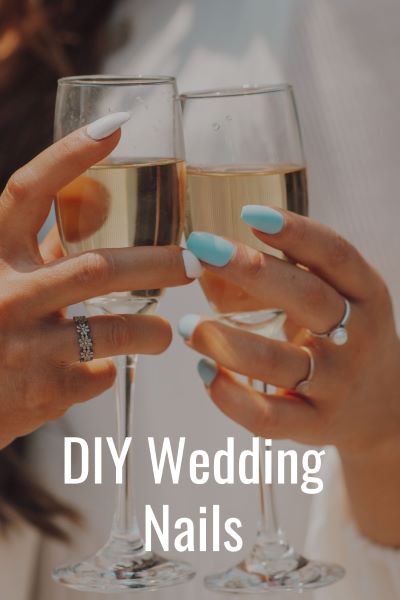
DIY Wedding Nails
While the wedding dress, shoes, and makeup are essential pieces of your wedding look, don’t forget about your nails. Beautifully manicured nails can complete your overall bridal look and leave you feeling confident and radiant on your big day. This is true whether you are the bride, the groom, regularly get your nails done or never get your nails done. If you’re a bride-to-be who loves to DIY, doing your own wedding nails can be a fun and rewarding experience. Here are some tips to help you achieve the perfect wedding nail look on your own.
Everything you need, in one place!
Check out the Denver DIY Bride Amazon Store for all the supplies you need for gorgeous DIY wedding nails and more!
1. Start With Healthy Nails
Before you start applying polish, it’s important to ensure your nails are healthy. Healthy nails don’t happen overnight, so start prepping you nails 1-3 months before you wedding. Begin by training your nails into your desired shape. Gently trim and file your nails in such a way to promote growth into the shape. If your nails are short and uneven and you want rounded long nails (or any shape), then you will need to proceed with patience!
Applying cuticle oil nightly is optimal. We love OPI’s ProSpa Nail and Cuticle Oil. Applying a cuticle oil or oil such as argan or coconut may help with growth and keeping dry, torn skin around the nails at bay. And don’t discount hand lotion! It’s a simple product, but daily application can make a world of differnce in the appearance of your hands and nails.
1-3 Months Before Your Wedding
- Beging applying cuticle oil nightly!
- Gently trim and file your nails to promote growth into your desired shape
2. Gather the right tools
To achieve the perfect DIY wedding nails, you’ll need the right tools. Make sure you have a good-quality base coat, top coat, and polish in your chosen color. Higher quality base and top coats, as well as polishes, will prevent chips and apply evenly on the nail. There are many types of gel-like polishes that are longer lasting and do not need special UV lights for curing. Nail brushes allow you to achieve perfect application with a more comfortable handle and brush shapes that match your nail.
You’ll also need a nail buffer, cuticle oil, and a small brush for touch-ups. In the months leading up to your wedding, you will want to have a supply of cuticle oil and hand lotion ready and apply daily. Make sure your clipper is SHARP! A dull clipper can tear the nail or cut unevenly. Sharp clippers will cut the nail with a clean edge and make it less likely that you will over trim.
DIY Nails Must Haves Tools
- SHARP nail clippers
- High quality polish such as Essie Gel Couture Long Lasting Nail Polish
2. Choose The Right Color
When it comes to choosing the right nail color for your wedding, there are several factors to consider. Choose your color 1-3 months before you wedding and give it a trial run. Does it compliment your skin tone? Does it clash with your dress, ring, or other accessories? If so, you have plenty of time to try a new color.
You’ll want to choose a color that complements your wedding dress, the theme of your wedding, and your personal style. Classic shades like ivory, blush, and nude are always popular choices, but feel free to experiment with bolder colors. Pick a color from your bouquet. Choose a shade based on your theme. Red is always bold AND classic. Baby blue is sweet, peacock green is gorgeous. Our favorite color? Essie’s Put In The Patch Work. It’s a bold and juicy red that goes with any dress color.
When Choosing Your Nail Color
- Pick your color and try it out 1-3 months ahead, so that you can easily choose a different shade, if needed.
- Don’t be afraid to be bold and unique!
4. Take Your Time
If possible, do your nails 1-3 days before your wedding! When doing your own wedding nails, it’s important to take your time and be patient. If you try to do your nails day of, no matter what, you’ll be interrupted by friends and family, your wedding planner, your caterer, etc. Start by applying a base coat to protect your nails, then apply two coats of your chosen color. Let each coat dry completely before applying the next. Finish with a top coat to seal in the color and add shine.
How To Protect Your Nails Before Your Wedding
- Gloves! Dish gloves for cleaning, gardening glove for outdoor work, etc.
- Don’t open a soda can, at all.
- Avoid using your nails as tools.
5. Add Some Sparkle
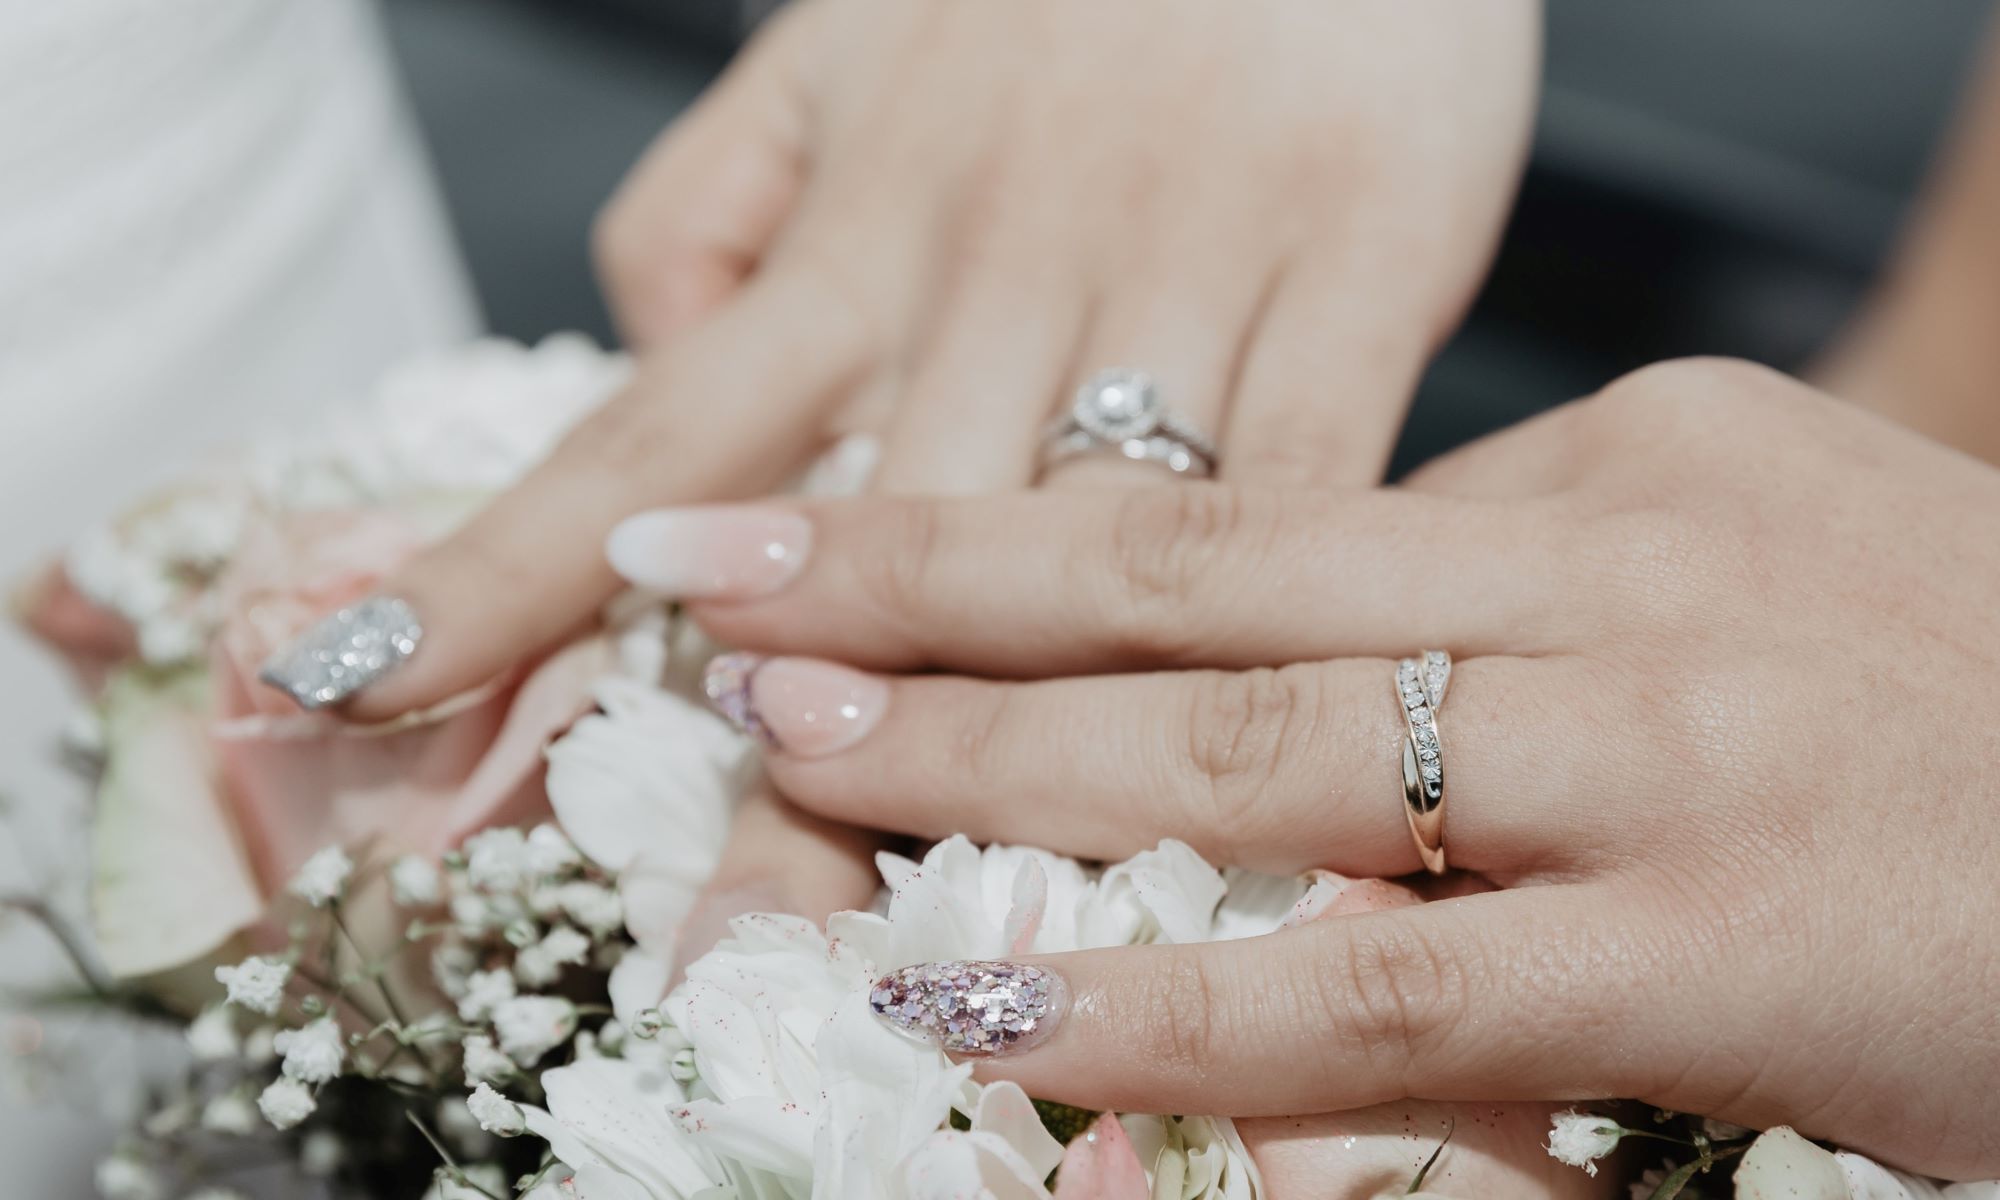
If you want to add some extra sparkle to your wedding nails, consider adding some glitter, rhinestones or decals. Apply a small amount of glitter to your nails while the polish is still wet, or use nail glue to attach rhinestones for a more dramatic effect. You can also use glitter nail polish. Nail decals come in a variety of colors and patterns. Lace, florals, words and letters, hearts. There are hundreds of decal shapes to choose from.
Denver DIY Bride’s Favorites
- Metallic nail stickers by Dashing Diva
- Lace and floral nail decals
- Silver glitter polish from essie
Don’t Be Afraid of Press Ons!
Getting a perfect manicure at home is hard! If you try, if it’s awful, if its frustrating, you can still DIY your nails. There is no shame in a press on nail! Press on nails look great, will last long enough to get you through your ceremony and reception, and will take the stress out of perfect polish application. OPI xPRESS/ON nails last up to 14 days and come in a wide variety of colors.
DIY Wedding Makeup
By following these tips, you can achieve the perfect bridal look without breaking the bank. Remember to take your time, choose the right color, and use the right tools for a flawless finish. With a little bit of practice, you’ll have DIY wedding nails that will leave you feeling confident and beautiful on your special day.
Looking for more DIY wedding makeup tips? We have curated the best eyeliners and more makeup lists are on our DIY Fashion & Beauty


